Tuesday, October 23, 2012

Back to Home sweet Home

We're back in Riyadh and have finally settled down.The last 3 months have been so action packed Alhamdulillah.


  • My sister gave birth to her first child, a darling baby boy MashaAllah. Here's what I made for him in anticipation of his birth-


                                      Blue polka dot quilt (didn't know it was going to be a boy!)


Tummytime playmat 


This playmat was inspired by Dukes and Duchesses though I made a few changes and sewed in ruffled fleece as well as jumbo beads on a cord.


The lovely heart fabric is from IKEA and I quilted on the pink hearts with pink thread.


A crinkly flower that can be buttoned off (I secured the button by hand sewing through it many, many times)


Ribbon loops to play with


Diaper Stacker (using this tutorial)


  • Celebrated Eid-ul-Fitr at my In-laws' place. Here's Z on the eve of Eid waiting for her henna to dry.


  • And now that we're back, my baby has started school! She's in KG1 and her classroom is Montessori, but that doesn't mean I'm going to stop doing Montessori activities with her, I'll be focusing more on activities that she really enjoys and also topics that I know is probably not going to be covered in her class.


Friday, July 6, 2012

Busy Book

I made this quiet book/busy book last year when Z was about 18 months old and we were going to travel to India sans hubby for the first time. I love the fact that it cost me next to nothing while sewing this up. The cover's made of soft denim from an old skirt of mine and the fabric for the pages came from my husband's old shirt. I used thin interfacing to give strength to the pages and cut out squares from an old fleece blanket to use as batting between 2 pages.


touchy feely page..the bunny patch came from Z's old minky nightsuit to which I sewed on bells, 1 pair on each hand. I first sewed on the ribbon tags, then started with the circle. I stuffed it with a bit of polyfil batting before sewing it up completely.


colour wheel and animal search pages


The colour wheel page was inspired by the colours page made by servingpinklemonade. I didn't have any brads so I used the snaps from Z's old onesie and sewed them on . The best part that the white part of the wheel can rotate on the snaps. This page was good for review of colours and some fingerplay as well.

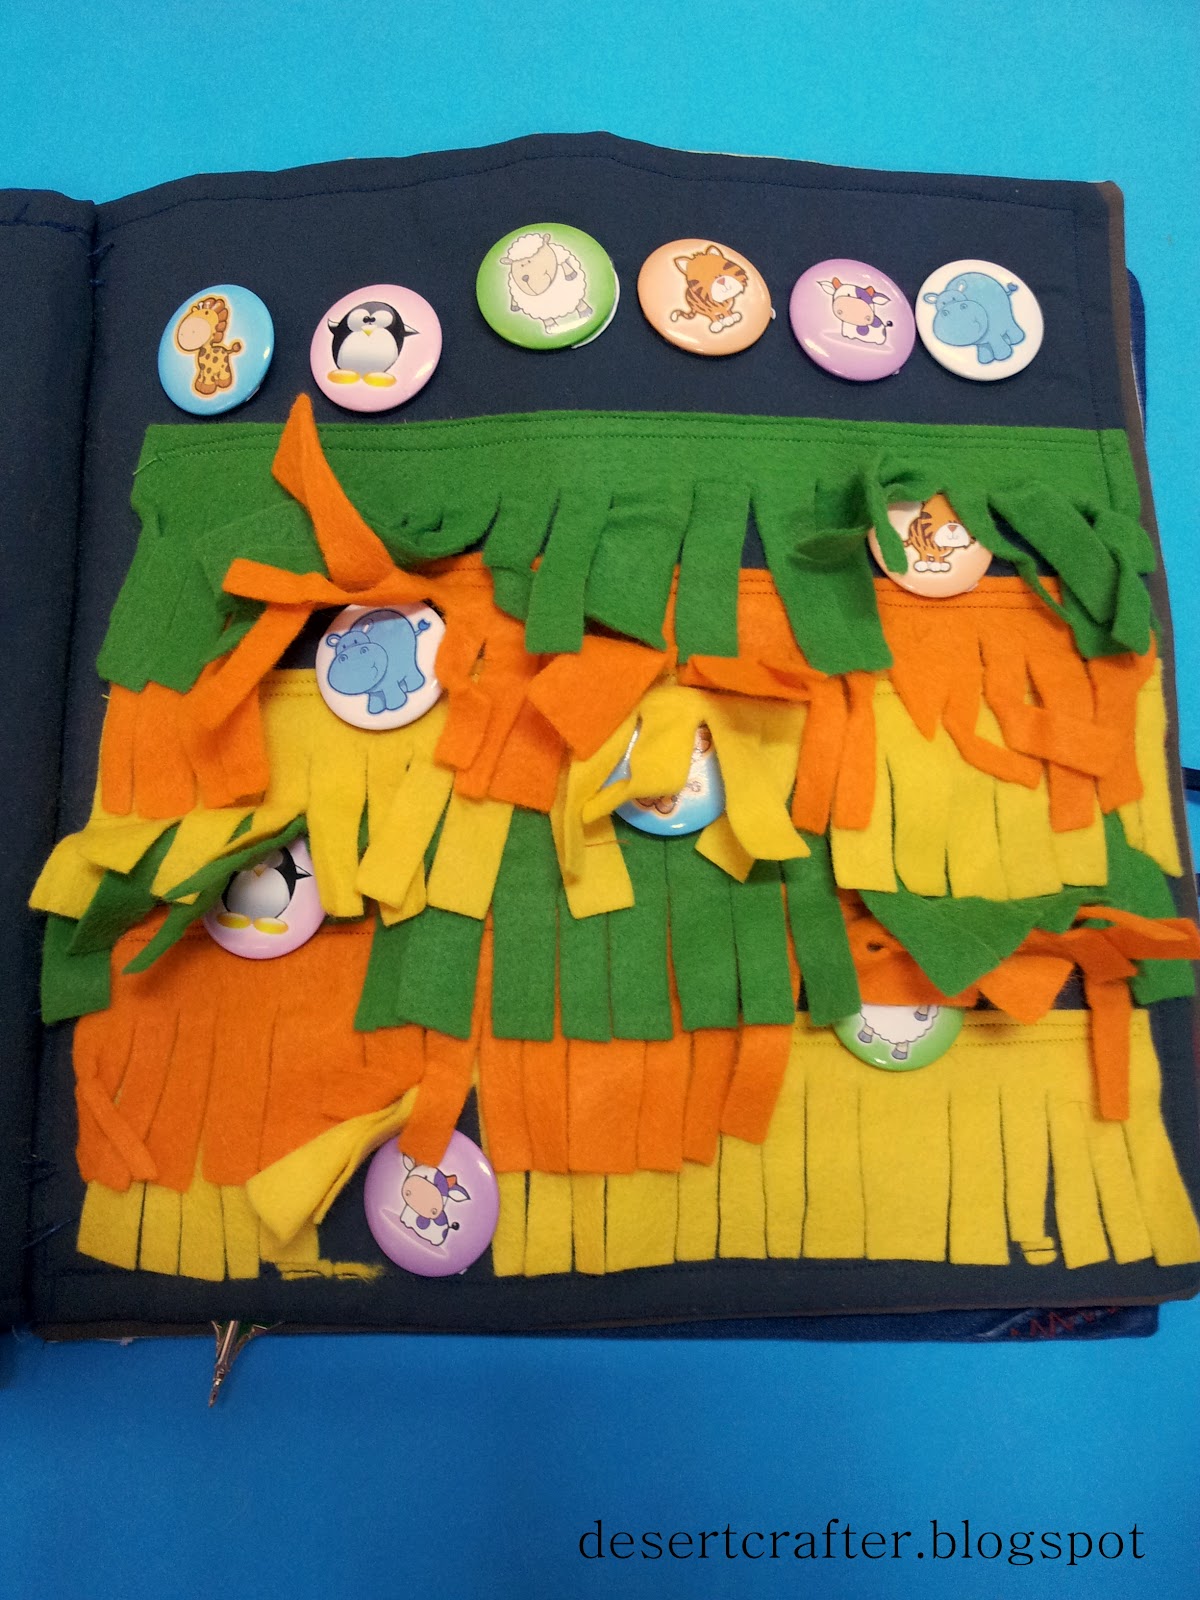
 I got the idea for the animal search from littlehandsbigwork but used button pins instead of buttons. Basically, the animals lined up at the top have a matching counterpart in the 'grass' below and you have to look for it.


What's in the pocket and buckle pages


counting and zipper pages


Put the dolly to sleep  page


I love this little felt doll in a kimono. The doll's pattern can be found  here and the kimono's pattern will be here. Z loves putting the doll in and out the quilt too.

Monday, June 11, 2012

Our Version of Thermic Tablets

Z is 2 years 10 months old

Montessori thermic tablets are used to develop a child's awareness of different temperatures of different materials based on their heat conducting properties. So while metals and stones are cool to the touch since they are good conductors of heat, porous materials such as wood, felt and cork aren't since they don't conduct heat very well. 

Though I don't own a set of thermic tablets, I thought it would be a good experiment to do with Z since she loves touching and putting things to her cheek to feel them. I quickly raided my stash for the things that would provide the sensorial experience I wanted, and assembled this basket of materials for her to explore.


Z would take each item, place it to her cheek and then say if it was cool or not cool. These were the various materials and textures we used.


Felt (not cool)
a thin felt block made by folding a long strip of block into a rectangle and then sewing the edges.


Stone (cool)


Steel (cool)
This is a metal 'soap' to wash off the smell of garlic from your hands (this is just a marketing gimmick, you can use a metal spoon in the same way very effectively) I spotted it in Daiso many months ago, and wanted to buy it purely for the sensorial experience. This was my chance : )


Glass (cool)
Some souvenir I had from ages ago, I let Z handle this only when I am around .


Wood (not cool)


Cork (not cool) and Rubber (not cool) 
These are not pictured in the basket as they were added later.

Z enjoyed placing the materials to the cheeks, she also explored the textures and traced the edges with her fingers. The basket will be in her shelf for a week or so, but I will keep bringing out regularly to add variety into her sensorial experiences.

Linking up with:

Montessori Monday 


Sunday, June 3, 2012

DIY Egg Sequence Puzzle


Z is 2 years 10 months old

I was browsing on Pinterest the other day when I came across this simple yet beautiful puzzle on windmill.net.au


It immediately caught my fancy and I love that it is a bit challenging since there are 2 things to sort by size, the egg and the egg cup. Since it would be too expensive for me to buy, I tried making one for Z.  Here's my DIY version -

The cardboard came out of a used box. I drew the eggcups freehand. For the pieces to fit in perfectly, I knew I had to cut them out directly from the inset frame. This was a very slow and long process.


Stuck the inset frame onto another piece of cardboard


 2 coats of acrylic paint


Decided to add 'knobs' so that it would be easier for Z to handle. I tried push pins but the pointy bits were poking out from behind the pieces so I settled for some cylindrical beads


Traced around the 'knobs' on the cardboard pieces and cut a hole through only the top layer of the cardboard so that the knobs would get a hold. Used a glue gun in the hole and around the knobs at the base. Modpodged all the pieces once the glue was cold. I decided to add black dots at the base of the egg cups so that Z wouldn't get confused as to their orientation.


Here's the finished piece! Tried trimming off some overhang at the top of the egg in the yellow cup but ended up cutting a small chunk . Darn!


The puzzle was slightly challenging for Z, but she did enjoy herself. 


Linking up with:

For the Kids Friday


Tuesday, May 29, 2012

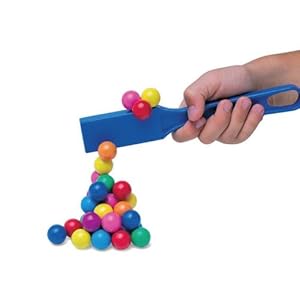
DIY Magnet Wand

photo from Amazon


What does one do when you can't find a magnet wand in any craft store, school supply store or stationery shops? You make one of course!

(These have been taken from my mobile phone, so pardon the bluish images : ) )


Take an old foot scraper


Peel off the emery paper and clean the glue


Magnet tape + a hot glue gun


your very own magnet wand!


 in action!